Today we face another classic theme of photography. Flowers are straightforward to find the subject, especially in this period, it is not even among the most difficult to photograph. If we follow some small precautions, we could significantly improve our results.
Basic Advice
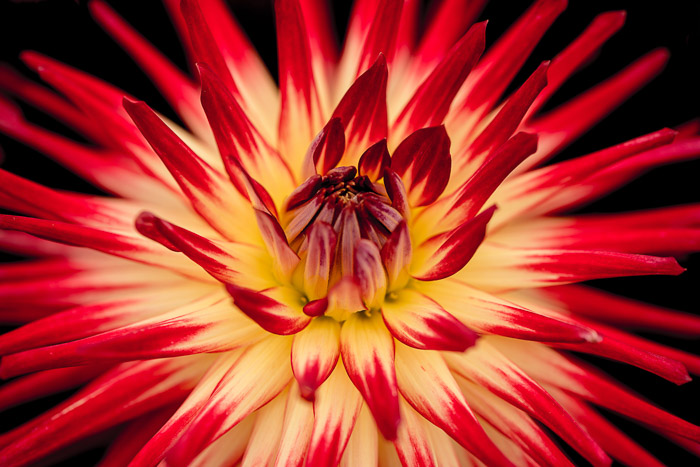
There are several ways to photograph a flower. A perfect plan is to stay very close to the subject and to open the aperture as much as possible (which is equivalent to setting the aperture value ‘f’ to the lowest possible ), to lower the depth of field and have a beautifully blurred background. But, as often happens, it is always good to experiment. For example, try using slow times (about 1/30 of a second or less), perhaps on a windy day; you will get a splendid effect of movement and colour. If, on the other hand, you want to repair the subject from the wind to keep it immobile, you can use stiff or very thick cardboard. It is always good to use a tripod, but if there is a lot of light and you use fast times, you can also decide to do without it. The risk, however, is to lose in sharpness. If you have a macro lens, use it! It will highlight the veins and all the other details of the flower.
Some Other Little Trick
Lowering to the flowering level (or even lower) will allow you to create more creative compositions than the classic shot from above. Bring a nebulizer or some water to spray on the flowers to create a “dew effect”. Look for “isolated” subjects and use the other flowers as a background, perhaps trying to position the central theme in a ” strong point ” Obviously, the beauty and perfection of the subject are fundamental. So get used to looking around and looking everywhere; even if sometimes, to find a perfect flower, another simple “trick” is enough: buy it.
To learn more about flower photography, visit https://skylum.com/blog/professional-photoshop-plugins.